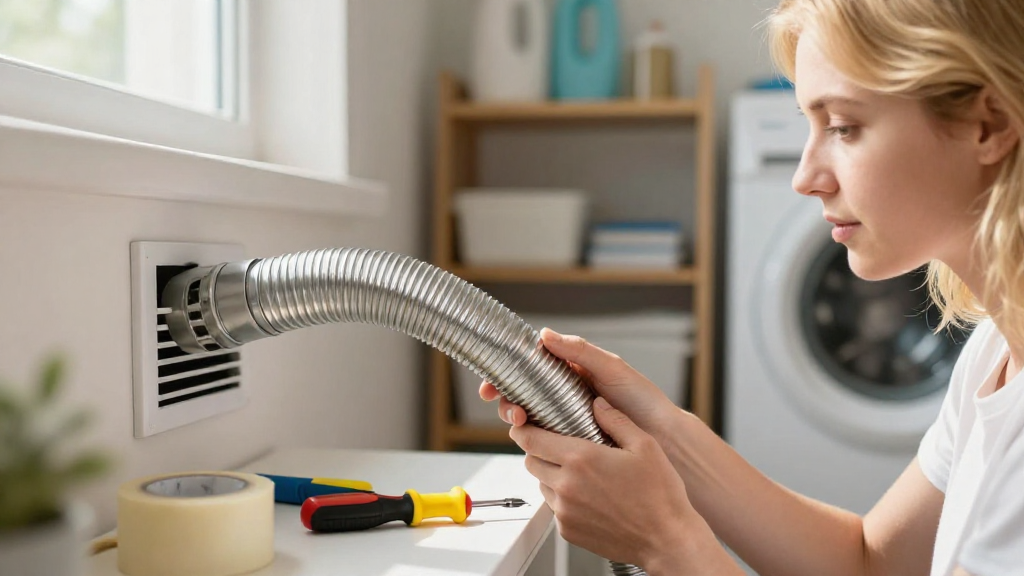
Installing a dryer duct might seem like a daunting task, but with the right guidance and tools, you can accomplish it efficiently.
In this article, we will explore how to install a dryer duct properly to ensure optimal performance and safety.
What Tools Do You Need for Dryer Duct Installation?
Before diving into the steps for how to install a dryer duct, it’s essential to have the right tools and materials on hand. Here’s a quick list:
- Dryer duct (usually semi-rigid, rigid, or flexible)
- Duct clamps
- Screwdriver
- Tin snips (if cutting is necessary)
- Measuring tape
- Level
- Safety goggles and gloves
With these tools ready, you can proceed to the installation process.
How Do You Prepare for Dryer Duct Installation?
Preparation is key when learning how to install a dryer duct. Follow these steps to prepare before you start the installation:
-
Turn Off the Dryer and Disconnect Power:
Ensure your dryer is unplugged to prevent any accidents during the installation. -
Measure the Distance:
Measure the distance from the dryer to the vent outlet.
This will help you determine the length of the duct you need. -
Inspect Existing Ductwork:
If you’re replacing an old duct, inspect it for damage or clogs.
A clean and intact duct is essential for proper airflow.
What is the Correct Way to Install the Dryer Duct?
Now that you’re prepared, let’s dive into the actual installation process for how to install a dryer duct properly.
Step 1: Cut the Duct to Length
- Measure and mark the length required based on your previous measurements.
- Use tin snips to cut the duct as needed.
Step 2: Connect the Duct to the Dryer
- Align one end of the duct with the exhaust vent on the dryer.
- Secure the duct with a duct clamp, ensuring it’s tight.
Step 3: Connect the Duct to the Vent Outside
- Take the other end of the duct and connect it to the exterior vent.
- Ensure a proper fit to prevent any air leaks.
Step 4: Use Supports as Needed
- If the duct is long or runs horizontally, consider using duct supports to hold it in place.
- This prevents sagging and improves airflow.
Step 5: Check for Proper Alignment
- Use a level to ensure the duct is straight and properly aligned.
- This minimizes bends, which can restrict airflow.
Step 6: Seal the Joints
- Use duct tape or a specialized duct sealant to seal any joints.
- This ensures the system is airtight and prevents lint from escaping.
Why is Proper Installation Important?
Understanding how to install a dryer duct properly is crucial for several reasons:
-
Prevent Fire Hazards:
Lint buildup can cause significant fire hazards. Proper installation minimizes this risk. -
Enhance Dryer Efficiency:
When installed correctly, airflow improves, and your dryer will operate more efficiently, saving energy and time. -
Extend the Life of Your Dryer:
A well-ventilated dryer can last longer since it isn’t overworked due to obstructions.
How Often Should You Clean Your Dryer Duct?
To maintain performance and safety, cleaning your dryer duct is essential. Here are some guidelines:
-
Every Six Months:
If you use your dryer frequently, clean the duct every six months. -
Annually for Less Frequent Users:
For occasional users, an annual cleaning is sufficient. -
Signs of Clogging:
If your dryer takes longer than usual to dry clothes or there is a burning smell, it might be time for a thorough inspection and cleaning.
Can You Install a Dryer Duct Yourself?
Absolutely! Many homeowners successfully learn how to install a dryer duct as a DIY project.
However, if you’re unsure or uncomfortable, it’s wise to consult with a certified professional.
What Common Mistakes Should Be Avoided?
While installing your dryer duct, here are some common mistakes to avoid:
-
Using Improper Materials:
Avoid using plastic or vinyl ducts as they are more flammable. Opt for metal ducts instead. -
Making Too Many Turns:
Keep duct turns to a minimum. Each bend can restrict airflow and reduce efficiency. -
Neglecting to Secure Joints:
Failing to properly seal duct joints can lead to airflow issues and increase fire risks.
What Should You Do After Installation?
After successfully installing your dryer duct, follow these steps:
-
Test the Dryer:
Plug the dryer back in and run it for a few minutes.
Check for any leaks or unusual noises. -
Inspect the Ductwork Regularly:
Make it a habit to inspect the duct regularly for clogs, damage, or wear and tear. -
Schedule Periodic Cleaning:
Based on usage, schedule a cleaning routine for your ductwork, ensuring it remains clear.
Conclusion
Learning how to install a dryer duct properly is not only essential for ensuring your dryer works efficiently but also for your home’s safety.
By following the steps outlined in this article, you can achieve a successful installation, prevent hazards, and prolong the lifespan of your appliance.
Don’t forget to maintain and clean your dryer duct regularly for optimal performance.
Taking these steps will ensure your dryer operates at its best while keeping you and your home safe.