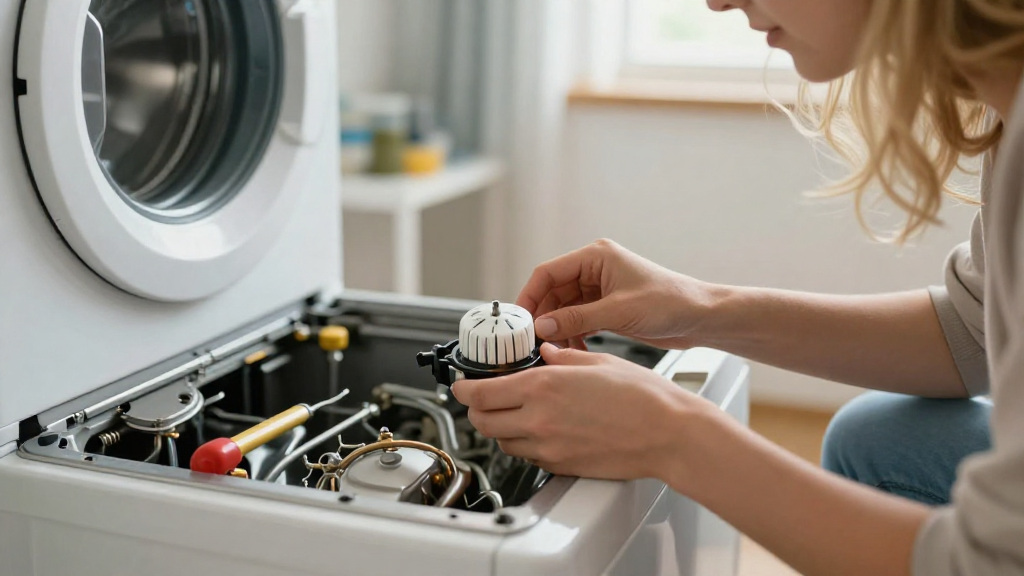
If you’re wondering how to fix a dryer timer, you’ve come to the right place. A malfunctioning dryer timer can be frustrating, leading to wet clothes and wasted time. Fortunately, with a little guidance, you can troubleshoot and repair your dryer timer quickly and efficiently.
What Are the Signs of a Broken Dryer Timer?
Before diving into repairs, it’s crucial to identify whether your timer is indeed broken. Here are some common signs:
- The timer does not advance during the drying cycle.
- The dryer stops prematurely, and clothes remain damp.
- Different settings or cycles do not function as expected.
- You hear unusual noises or clicks, indicating the timer is stuck.
If you notice any of these symptoms, it may be time to figure out how to fix your dryer timer.
What Tools Do You Need to Fix a Dryer Timer?
Before proceeding with any repairs, gather the tools you’ll need. This will help streamline the process and ensure you have everything on hand. Here’s a list of recommended tools:
- Screwdrivers: Both Phillips and flathead
- Multimeter: For electrical testing
- Pliers: To grip and manipulate wires
- Wrench or socket set: For removing any bolts
- Replacement timer: If necessary
Having the right tools will make it easier when you learn how to fix your dryer timer.
How Do You Access the Dryer Timer?
To fix your dryer timer, accessing it is the first crucial step. Here’s how to do it:
- Unplug the dryer from the power outlet to ensure safety.
- Remove the control panel:
– Locate the screws securing it, usually positioned at the back or along the top.
– Detach the panel to expose the timer and wiring. - Identify the timer:
– It’s often located alongside other control components.
– Take note of its wiring to ensure proper reinstallation later.
Once you have access, you can begin the troubleshooting process.
How Do You Test the Dryer Timer?
Now that you can see the timer, it’s time to test its functionality. Here’s how:
-
Use a multimeter:
– Set your multimeter to the ohms setting.
– Disconnect the wires from the timer (remember their positions for reinstallation).
– Place the multimeter leads on the timer terminals and check for continuity.
– A lack of continuity indicates the timer is faulty. -
Check for mechanical issues:
– Turn the timer knob and observe if it advances on its own.
– Listen for any odd sounds.
If your tests indicate a malfunction, proceed to how to fix the dryer timer.
How Can You Fix Common Timer Issues?
There are several common problems that may arise with dryer timers, and many of them are fixable with some basic repairs. Here’s what you might be able to do:
Tightening Connections
Loose or frayed wires can disrupt power flow to the timer.
- Examine all wire connections:
- Look for any signs of corrosion or burn marks.
- Tighten any loose connections and replace damaged wires if necessary.
Cleaning the Timer Mechanism
Sometimes dust and debris may jam the timer.
- Gently clean the timer mechanism:
- Use compressed air to blow away dust.
- Ensure all moving parts can move freely.
Replacing the Timer
If testing shows your timer is defective, replacement is the best option.
- Buy the correct replacement timer compatible with your dryer brand and model.
- Disconnect wires from the old timer, taking note of their positions.
- Connect wires to the new timer, ensuring a solid fit.
- Reattach the control panel and plug the dryer back in.
Following these steps illustrates how to fix your dryer timer effectively.
Should You Call a Professional to Fix Your Dryer Timer?
In some cases, it might be a good idea to call a professional.
- Consider professional help if:
- You’re uncomfortable working with electrical components.
- The problem persists even after attempting repairs.
- You lack the necessary tools or time.
How Can You Prevent Future Timer Issues?
After successfully fixing your dryer timer, prevention is key to ensuring it doesn’t break down again. Here are a few tips:
- Regular maintenance: Take time to inspect your dryer every few months.
- Clean the lint filter: A clogged filter can put extra strain on the timer and other components.
- Avoid overloading: Proper loads help the dryer function optimally.
- Don’t yank the timer knob: A gentle touch ensures the mechanical components remain in good working order.
By being proactive, you can extend the life of your dryer timer and other components.
Conclusion
Understanding how to fix a dryer timer empowers you to tackle issues head-on and keep your appliance functioning optimally. With the right tools, knowledge, and preventative measures, you can save money and time by doing repairs yourself.
Remember to always prioritize safety by unplugging the appliance before starting any repairs. If you’re ever in doubt, don’t hesitate to reach out to a professional technician. By practicing regular maintenance, you can minimize future problems and enjoy the convenience of a fully operational dryer.
Happy drying!