
Why the Frozen Fruit Pops Is a Must-make
If you’re looking for an invigorating treat that’s both delicious and healthy, you’ve got to try these frozen fruit pops. They’re not just a rejuvenating snack; they’re a burst of vibrant flavors that’ll awaken your taste buds.
I love how simple they’re to make, and they’re perfect for hot days. Plus, you can customize them with your favorite fruits!
These pops are a guilt-free indulgence that makes me feel great, knowing I’m enjoying a wholesome dessert. Once you take a bite, you’ll understand why I can’t get enough of them.
Trust me; they’re a must-make for everyone!
Ingredients of Frozen Fruit Pops
Making frozen fruit pops isn’t just about enjoying a tasty treat; it’s about creating something that brings joy and refreshment on a hot day. When you gather your ingredients, think about the vibrant colors and flavors you’ll be mixing together. Each fruit brings its unique personality to the party, and you can have so much fun experimenting with different combinations.
Plus, they’re so easy to whip up, you might just find yourself making a whole batch every week.
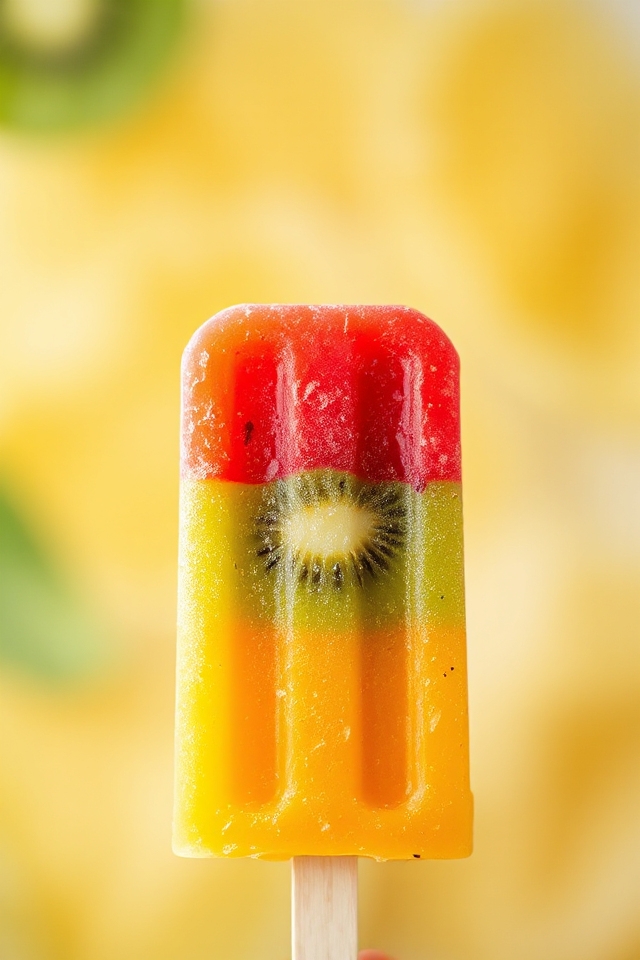
Here’s what you’ll need to make your own Frozen Kiwi & Strawberry Pops:
- 2 bananas, peeled and halved
- 2 very ripe kiwi fruits, peeled and halved (you can also use peaches, grapes, mango, etc.)
- 2/3 cup strawberries (fresh or frozen, or any berries you prefer)
- 1/2 cup orange juice
- 3 tablespoons light corn syrup
When it comes to choosing your ingredients, freshness is key, especially with the fruit. Ripe bananas and kiwi not only taste better but also blend smoothly, creating the ultimate creamy texture for your pops.
If you’re feeling adventurous, switch up the fruits based on what’s in season or what you have on hand. Don’t limit yourself to just strawberries and kiwi; try blueberries, raspberries, or even a little splash of coconut milk for a tropical twist.
Just remember, the sweeter the fruit, the less corn syrup you may need. And hey, if you accidentally eat a few pieces of fruit while prepping, no judgment here—it’s all part of the process.
How to Make Frozen Fruit Pops
Making your own Frozen Kiwi & Strawberry Pops is a delightful and surprisingly simple adventure in the kitchen. You start by gathering your ingredients, which are 2 bananas, 2 very ripe kiwi fruits, 2/3 cup of strawberries, 1/2 cup of orange juice, and 3 tablespoons of light corn syrup.
Take a moment to appreciate the vibrant colors; it’s like a mini rainbow in your kitchen. Now, before we plunge into the fun part, let’s prep the fruits. Toss those bananas, kiwi, and strawberries into the freezer until they’re partially frozen. This usually takes about an hour. Just don’t forget about them—nobody wants frozen fruit pops that have turned into solid bricks. Trust me, I’ve been there.
Once your fruits are cool and ready, it’s time to get blending. For the first layer, grab 1 of those banana halves, 1 tablespoon of corn syrup, and the orange juice. Blend it all until it’s smooth and silky; you want it to be just right for pouring into your molds.
Now, if you’re using metal timbale molds, paper cups, or any popsicle molds you have lying around (hey, we’re all about resourcefulness here), divide this banana-orange goodness evenly. For the second layer, take another banana half, the kiwi, and another tablespoon of corn syrup. Blend it up just like you did before, and pour this vibrant green mix into the molds.
Finally, for the last layer, grab your strawberries, blend them with the remaining banana half and the last tablespoon of corn syrup until everything is beautifully combined. Pour this red layer on top.
Now, here’s the part where patience comes in. Place those filled molds in the freezer for about 45 minutes. After that, insert your popsicle sticks into the center of each pop. This is the moment when your frozen fruit pops start to take shape.
Let them freeze for several hours or overnight until they’re completely solid. The next day, when it’s time to enjoy your creation, remove the pops from the molds by quickly dipping them into hot water for a few seconds. Hold onto that stick and gently pull—voila! You’ve got a beautiful frozen fruit pop ready to be devoured.
Just be careful; they can be a bit slippery, and you definitely don’t want to drop one right after all that hard work. Enjoy each fruity bite, knowing you made something delicious and invigorating.
Frozen Fruit Pops Substitutions & Variations
When it comes to frozen fruit pops, the possibilities for substitutions and variations are nearly endless. You can easily swap kiwi for other fruits like peaches, mangoes, or even berries, depending on what you have on hand.
If you’re not a fan of orange juice, try using coconut water or apple juice for a different flavor. For sweetness, honey or agave syrup can replace corn syrup.
Don’t hesitate to mix in some yogurt for creaminess or even a splash of vanilla extract. The key is to experiment and find combinations that excite your taste buds!
Enjoy creating your perfect frozen treat!
What to Serve with Frozen Fruit Pops
Serving frozen fruit pops can be a delightful experience, especially when paired with complementary snacks or drinks.
I love to serve them alongside a light yogurt dip for a creamy contrast. Fresh fruit platters with seasonal berries or citrus can enhance the fun, too.
For drinks, a revitalizing sparkling water or lemonade really complements the fruity flavors. If you’re feeling adventurous, try pairing them with a scoop of sorbet for an extra chill!
These pairings elevate the treat and make it a more enjoyable experience for everyone. Trust me; your guests will love the variety!
Additional Tips & Notes
Pairing frozen fruit pops with light snacks or invigorating drinks enhances the overall experience, but there are a few additional tips to keep in mind for the best results.
First, use super ripe fruit for maximum sweetness and flavor. If you want a creamier texture, blend in a bit of yogurt or coconut milk. Don’t hesitate to experiment with different fruit combinations based on your preferences.
To avoid popsicles sticking, make sure the molds are well-greased.
Finally, remember to let the pops sit at room temperature for a minute before serving; it makes removal and enjoyment so much easier!